Guess whose back, back, back?
Back again, again, again?
It’s me.
I’m BACK. GAHHHHHHHHHHHHH.
I have so much I want to tell you. SO MUCH.
It’s been over six months. Do you know how many things have happened? Like a zillion and seven. That’s kind of a lot. And, also, totally one hundred percent an exaggeration. I’m a lot more boring than you may think.
But, really, I feel like a bag of popcorn you just put in the microwave. I keep popping with things I want to share, but I also totally don’t want to overwhelm you. Or, come off as that crazy lady that just keeps spewing [it feels somehow wrong to use that word on the baking blog…but, let’s just go with it!] random tidbits on her first post back in foreverrrrrrrrrrrrr.
Just bear with me, okay?

I should probably start with school. The blog hiatus was mostly caused by anatomy, microbiology, anatomy lab, microbiology lab, studying, ALL THE STUDYING, no time…mainly because of work and said studying, and my desire to occasionally get some sleep. And, then the semester ended, and the year ended, and everything was kind of merrr, and I just felt burnt out. There was no creative juices, no artsy-ness, and even though I wanted to be in the kitchen, I just didn’t go in there.
Why? I don’t really know. And, I’m sorry, I know I could definitely be more eloquent with my feelings, but at the end of the day, I just wasn’t feeling it. And, the longer I stayed away from baking the more awkward I felt about getting back into it. And, I know that probably makes absolutely no sense, but for me, it completely does.
I’m kind of an awkward turtle, guys. I just hope ya’ll love me enough to except that. But, serious time. I missed you. And, the blog. And, writing. And, baking. And, taking pictures. Anddddd, just everything about this. I’m back in school again this semester, but it’s definitely much more manageable than the last one. So, I’m ready to be back. And, I hope you’re ready to have me back.
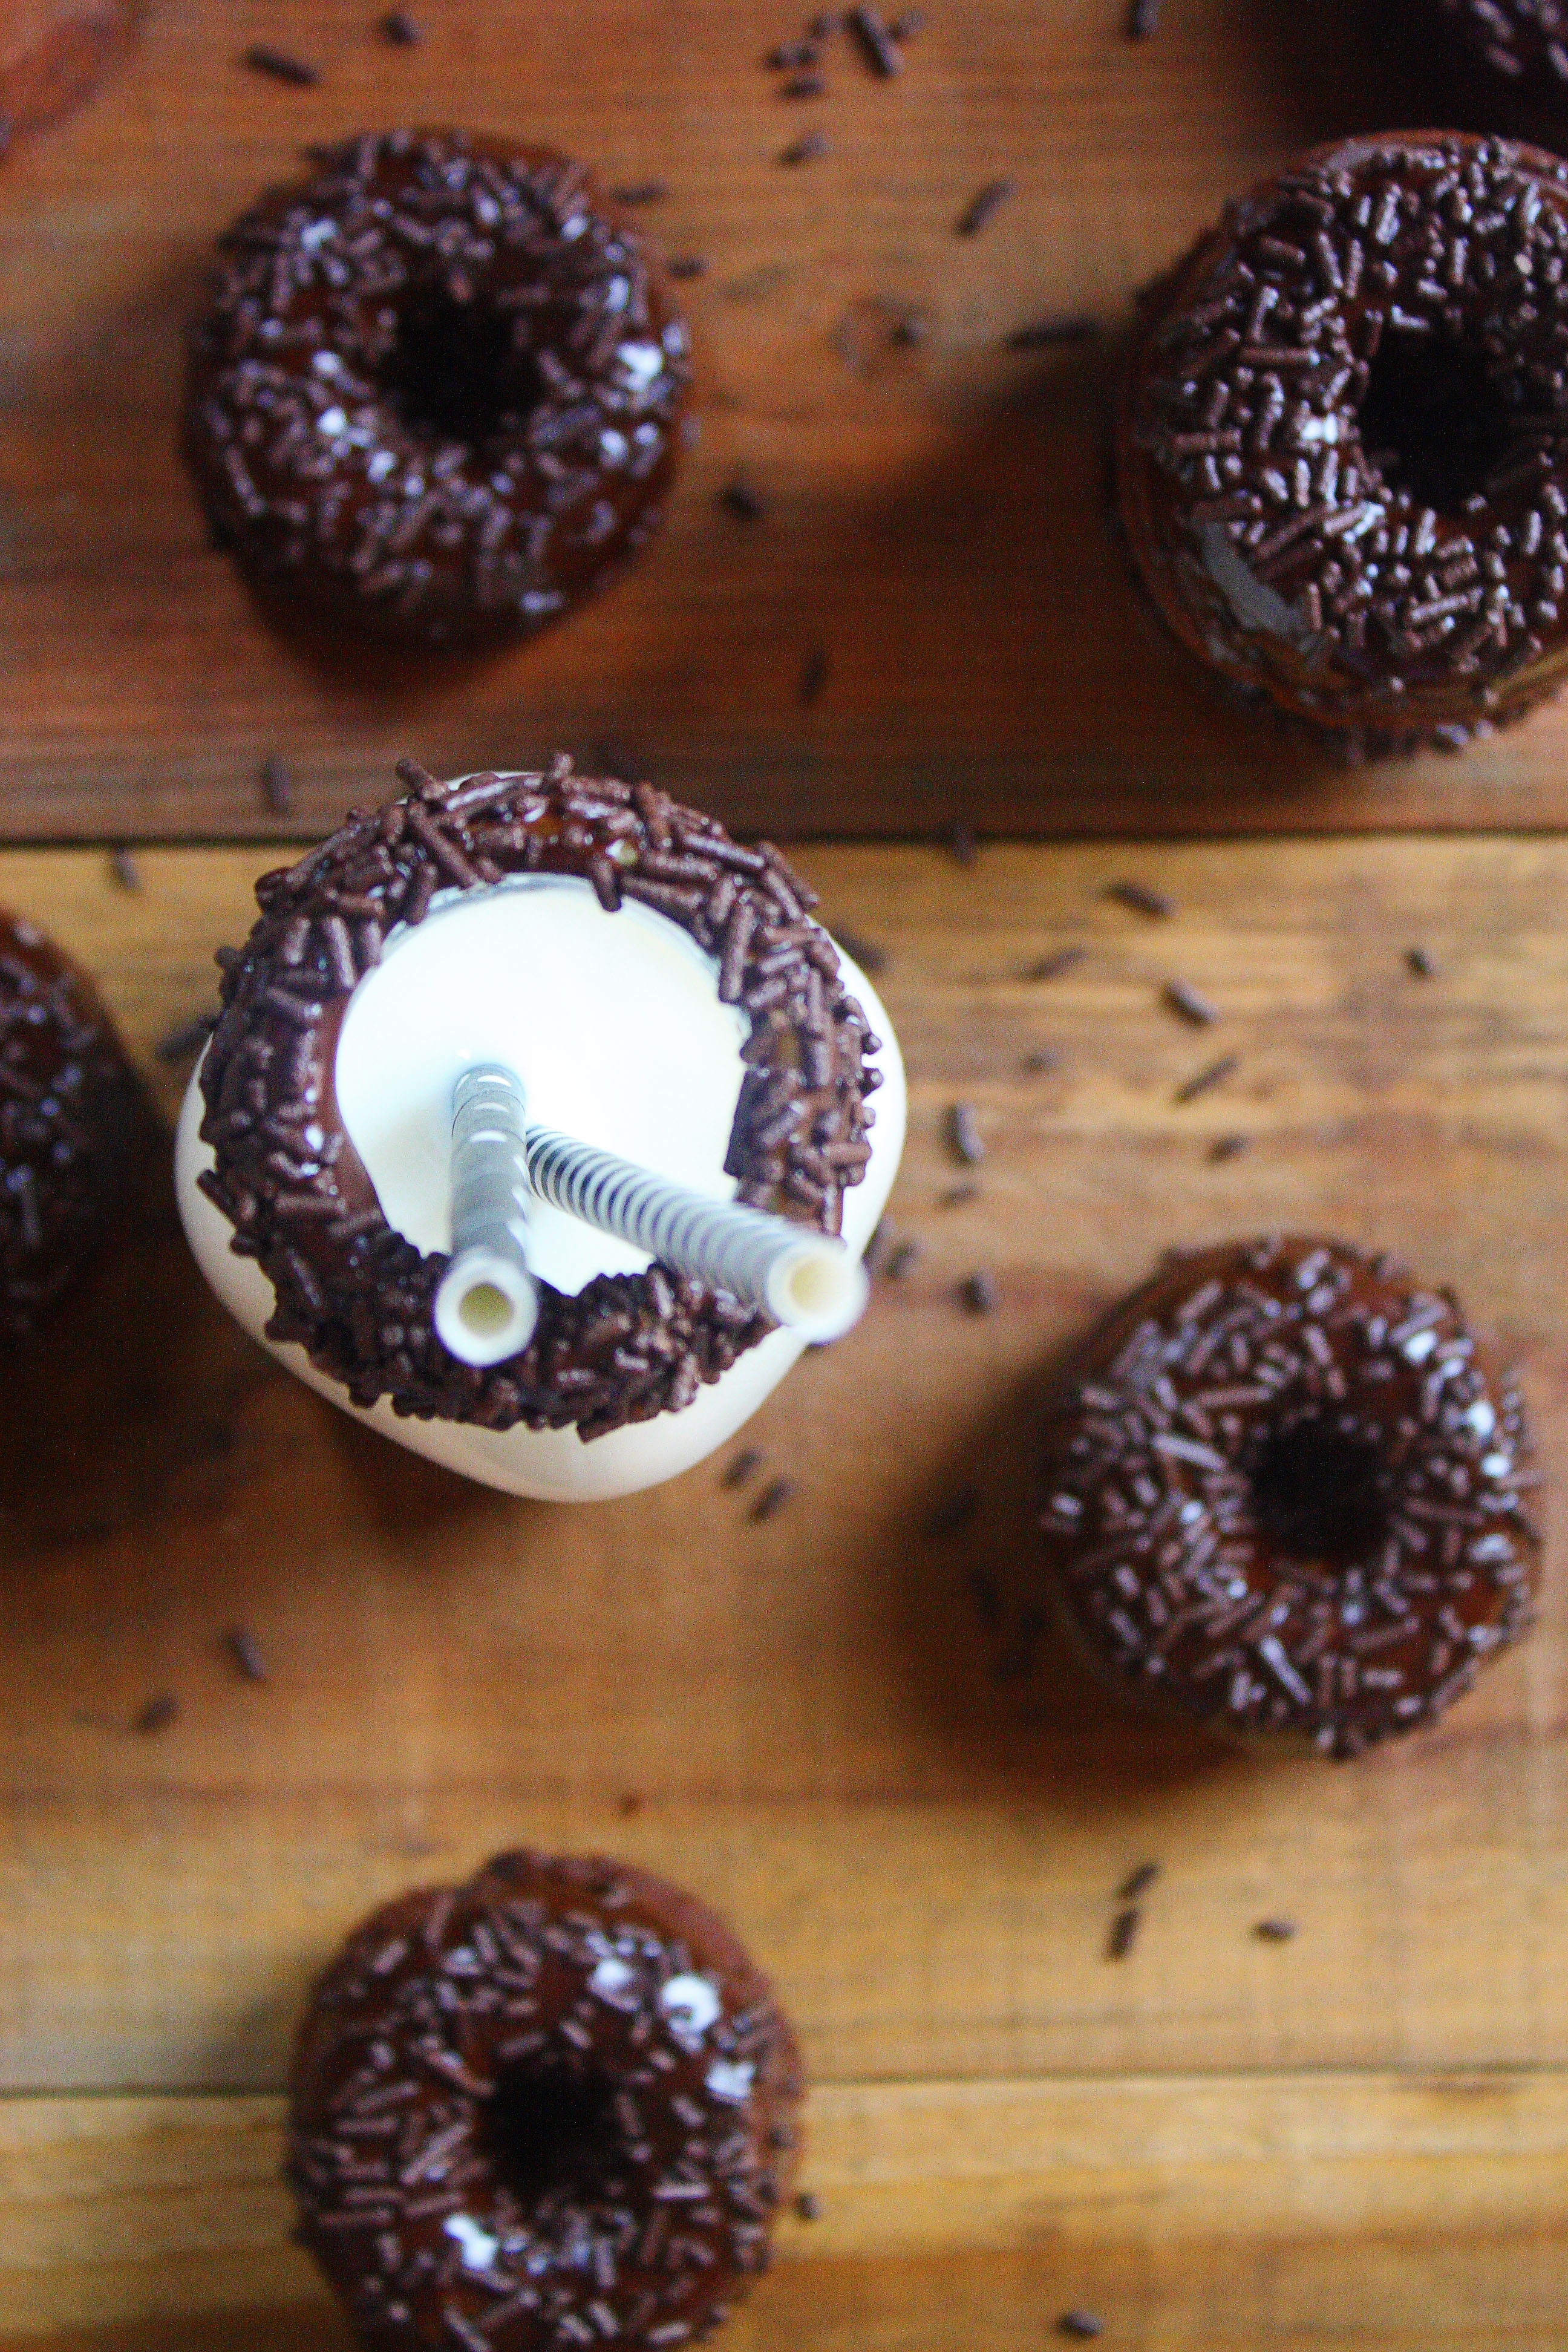
Now, lets talk some ice cream.
Guess who got an ice cream machine for her birthday?
Yup, this girl. Thanks to my best friend, I can now make ice cream on the regular. Which is pretty much the best thing ever. But, also, sort of a problem. I want to turn everything into ice cream.
EVERYTHING.
How does Cheez-it ice cream sound?

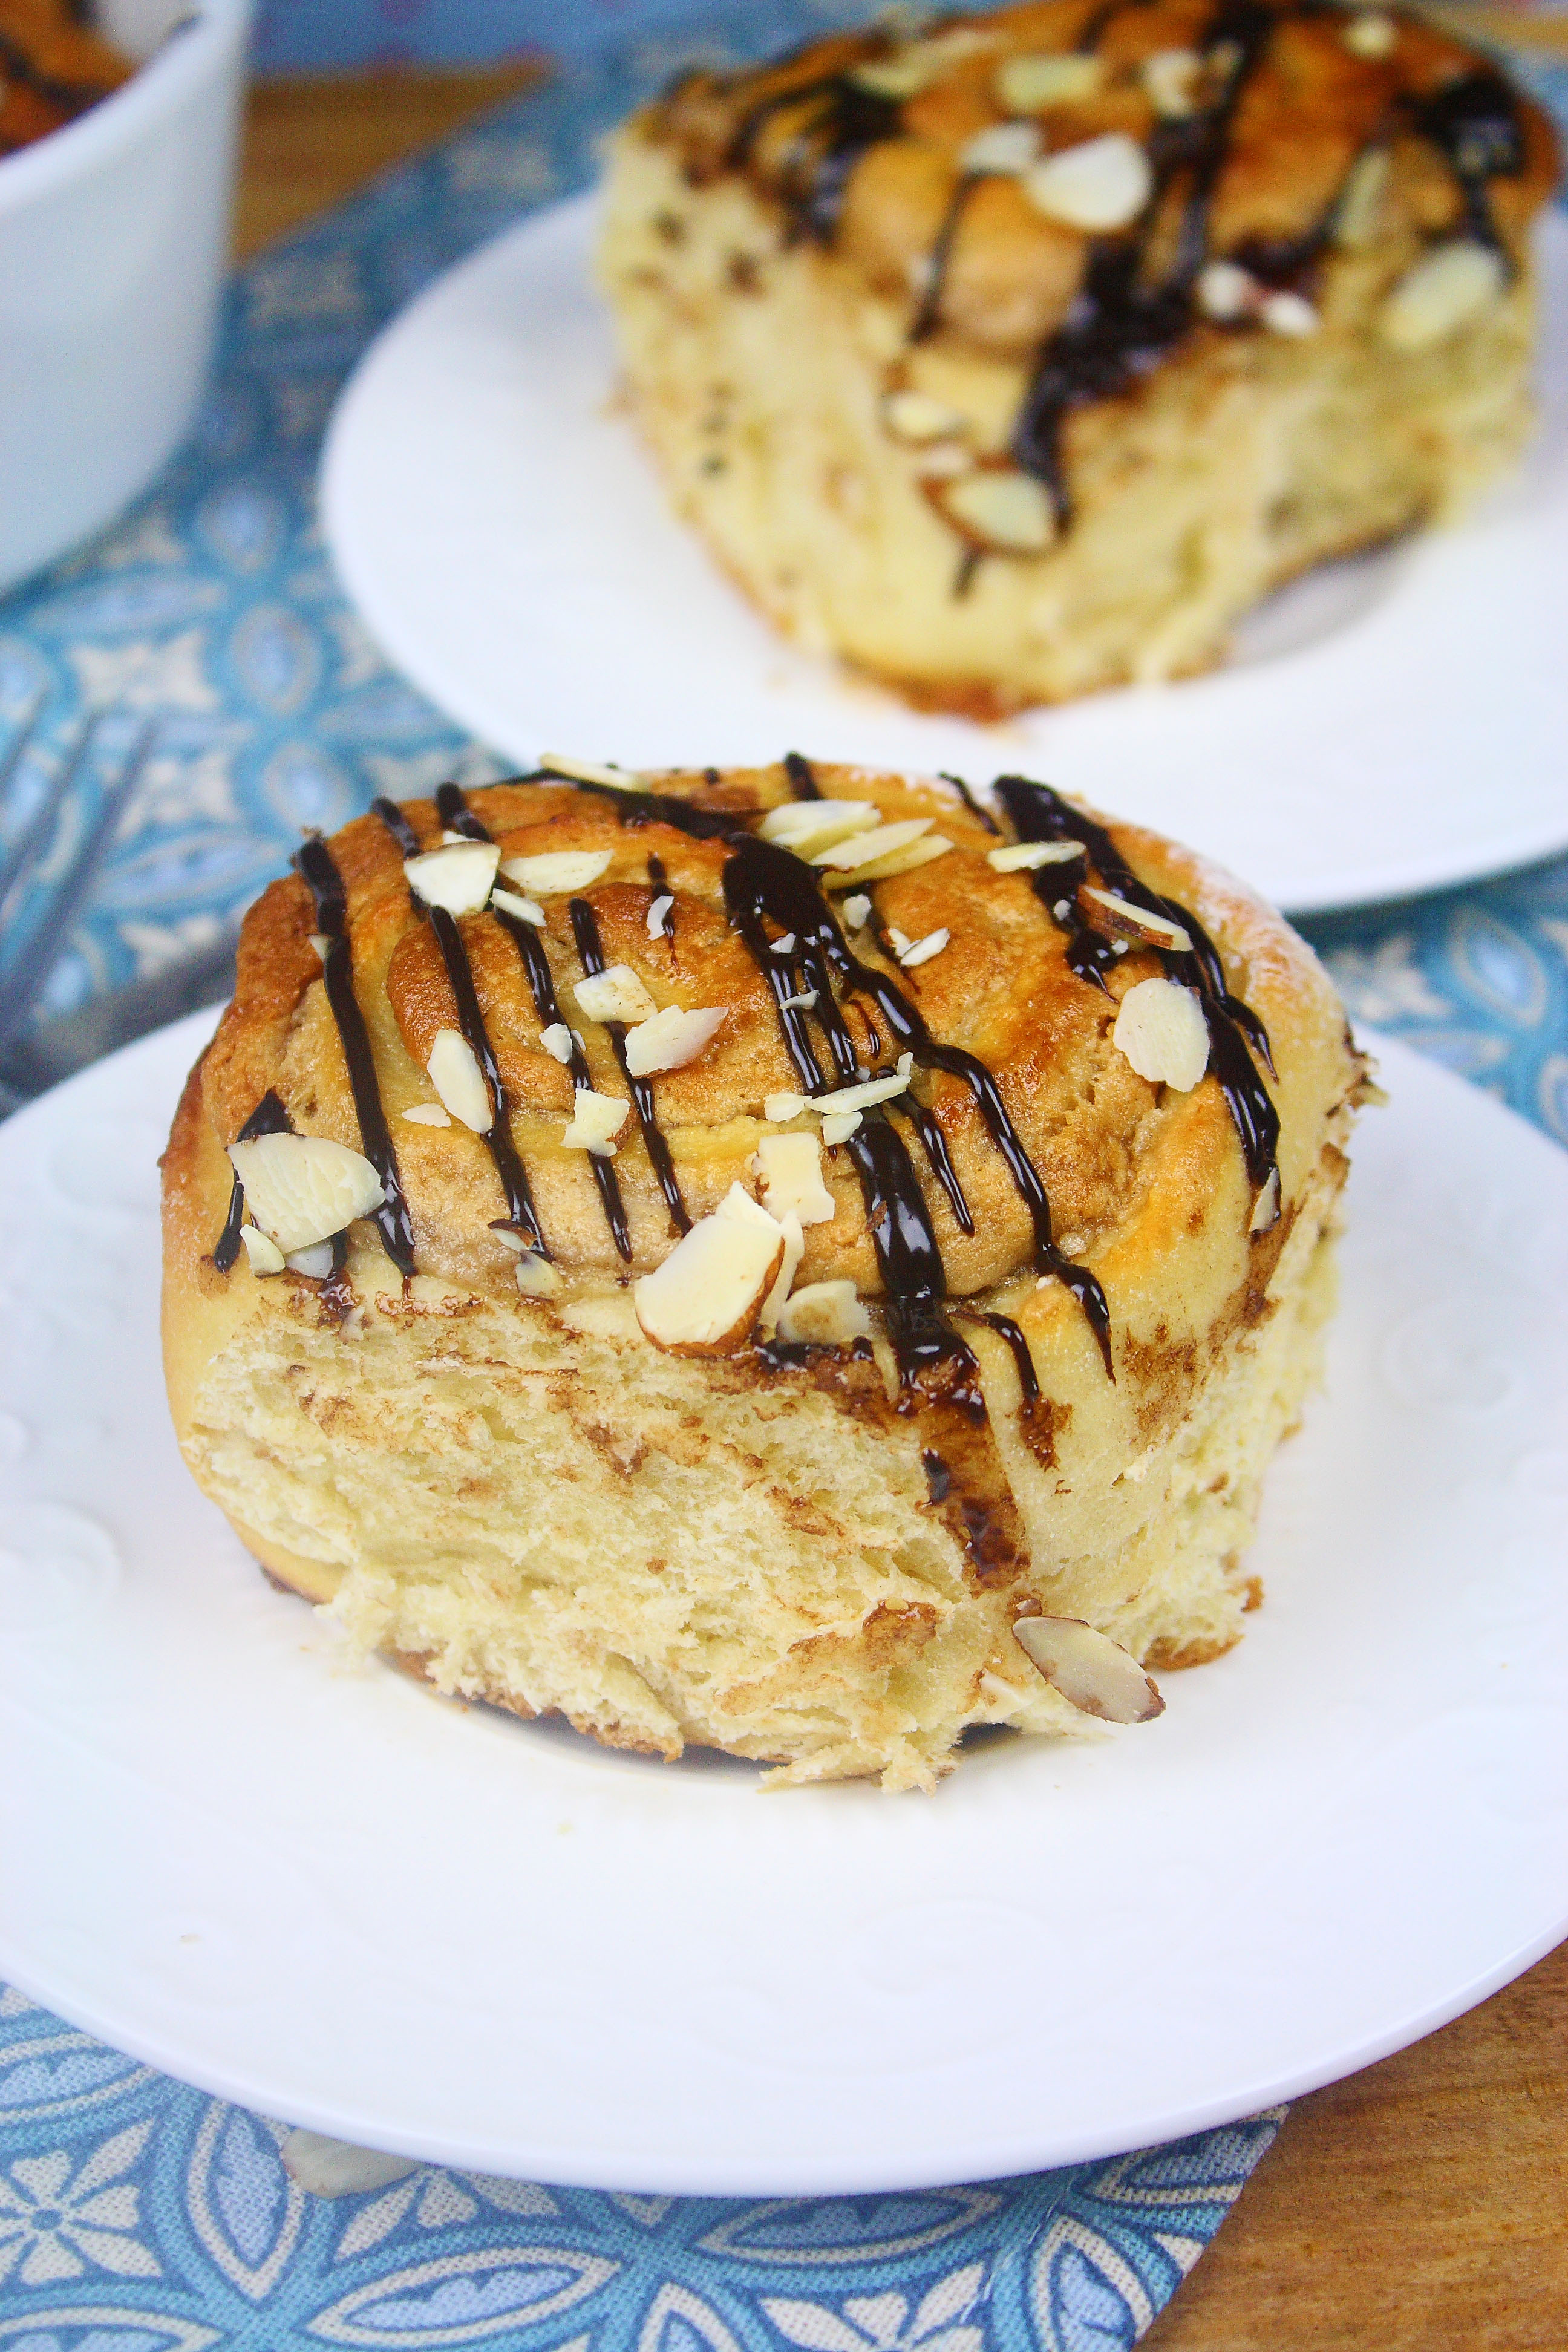
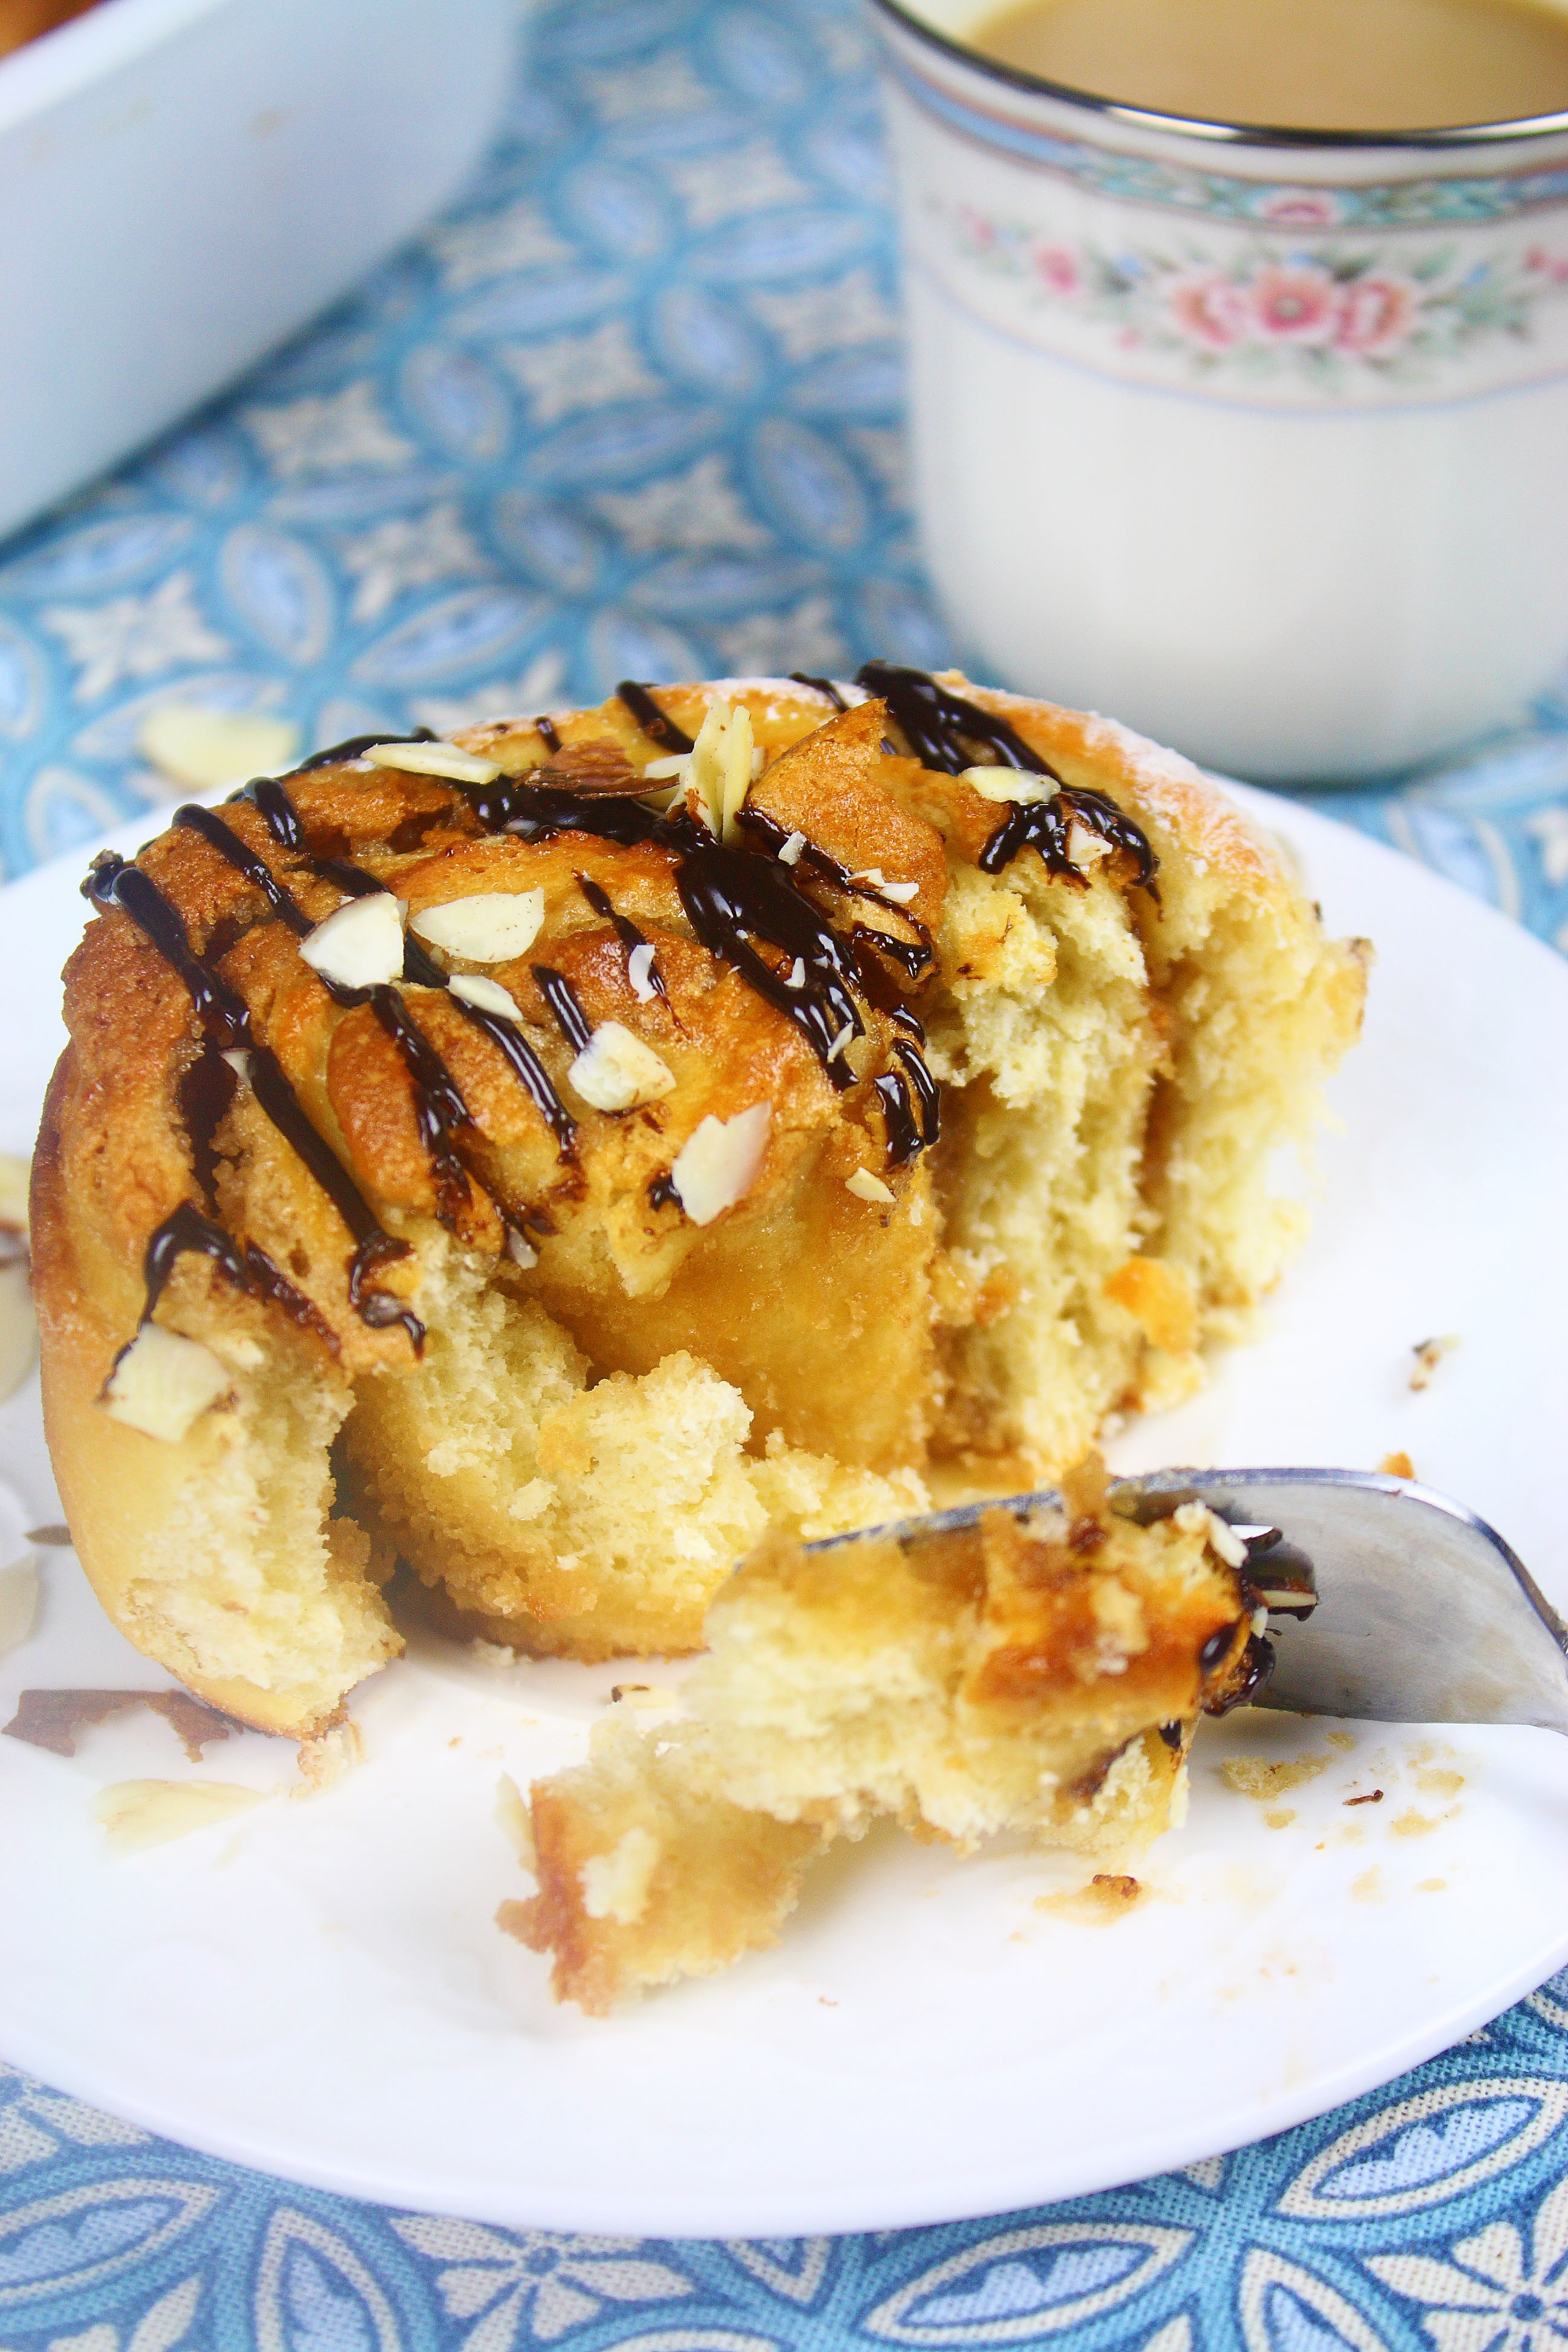
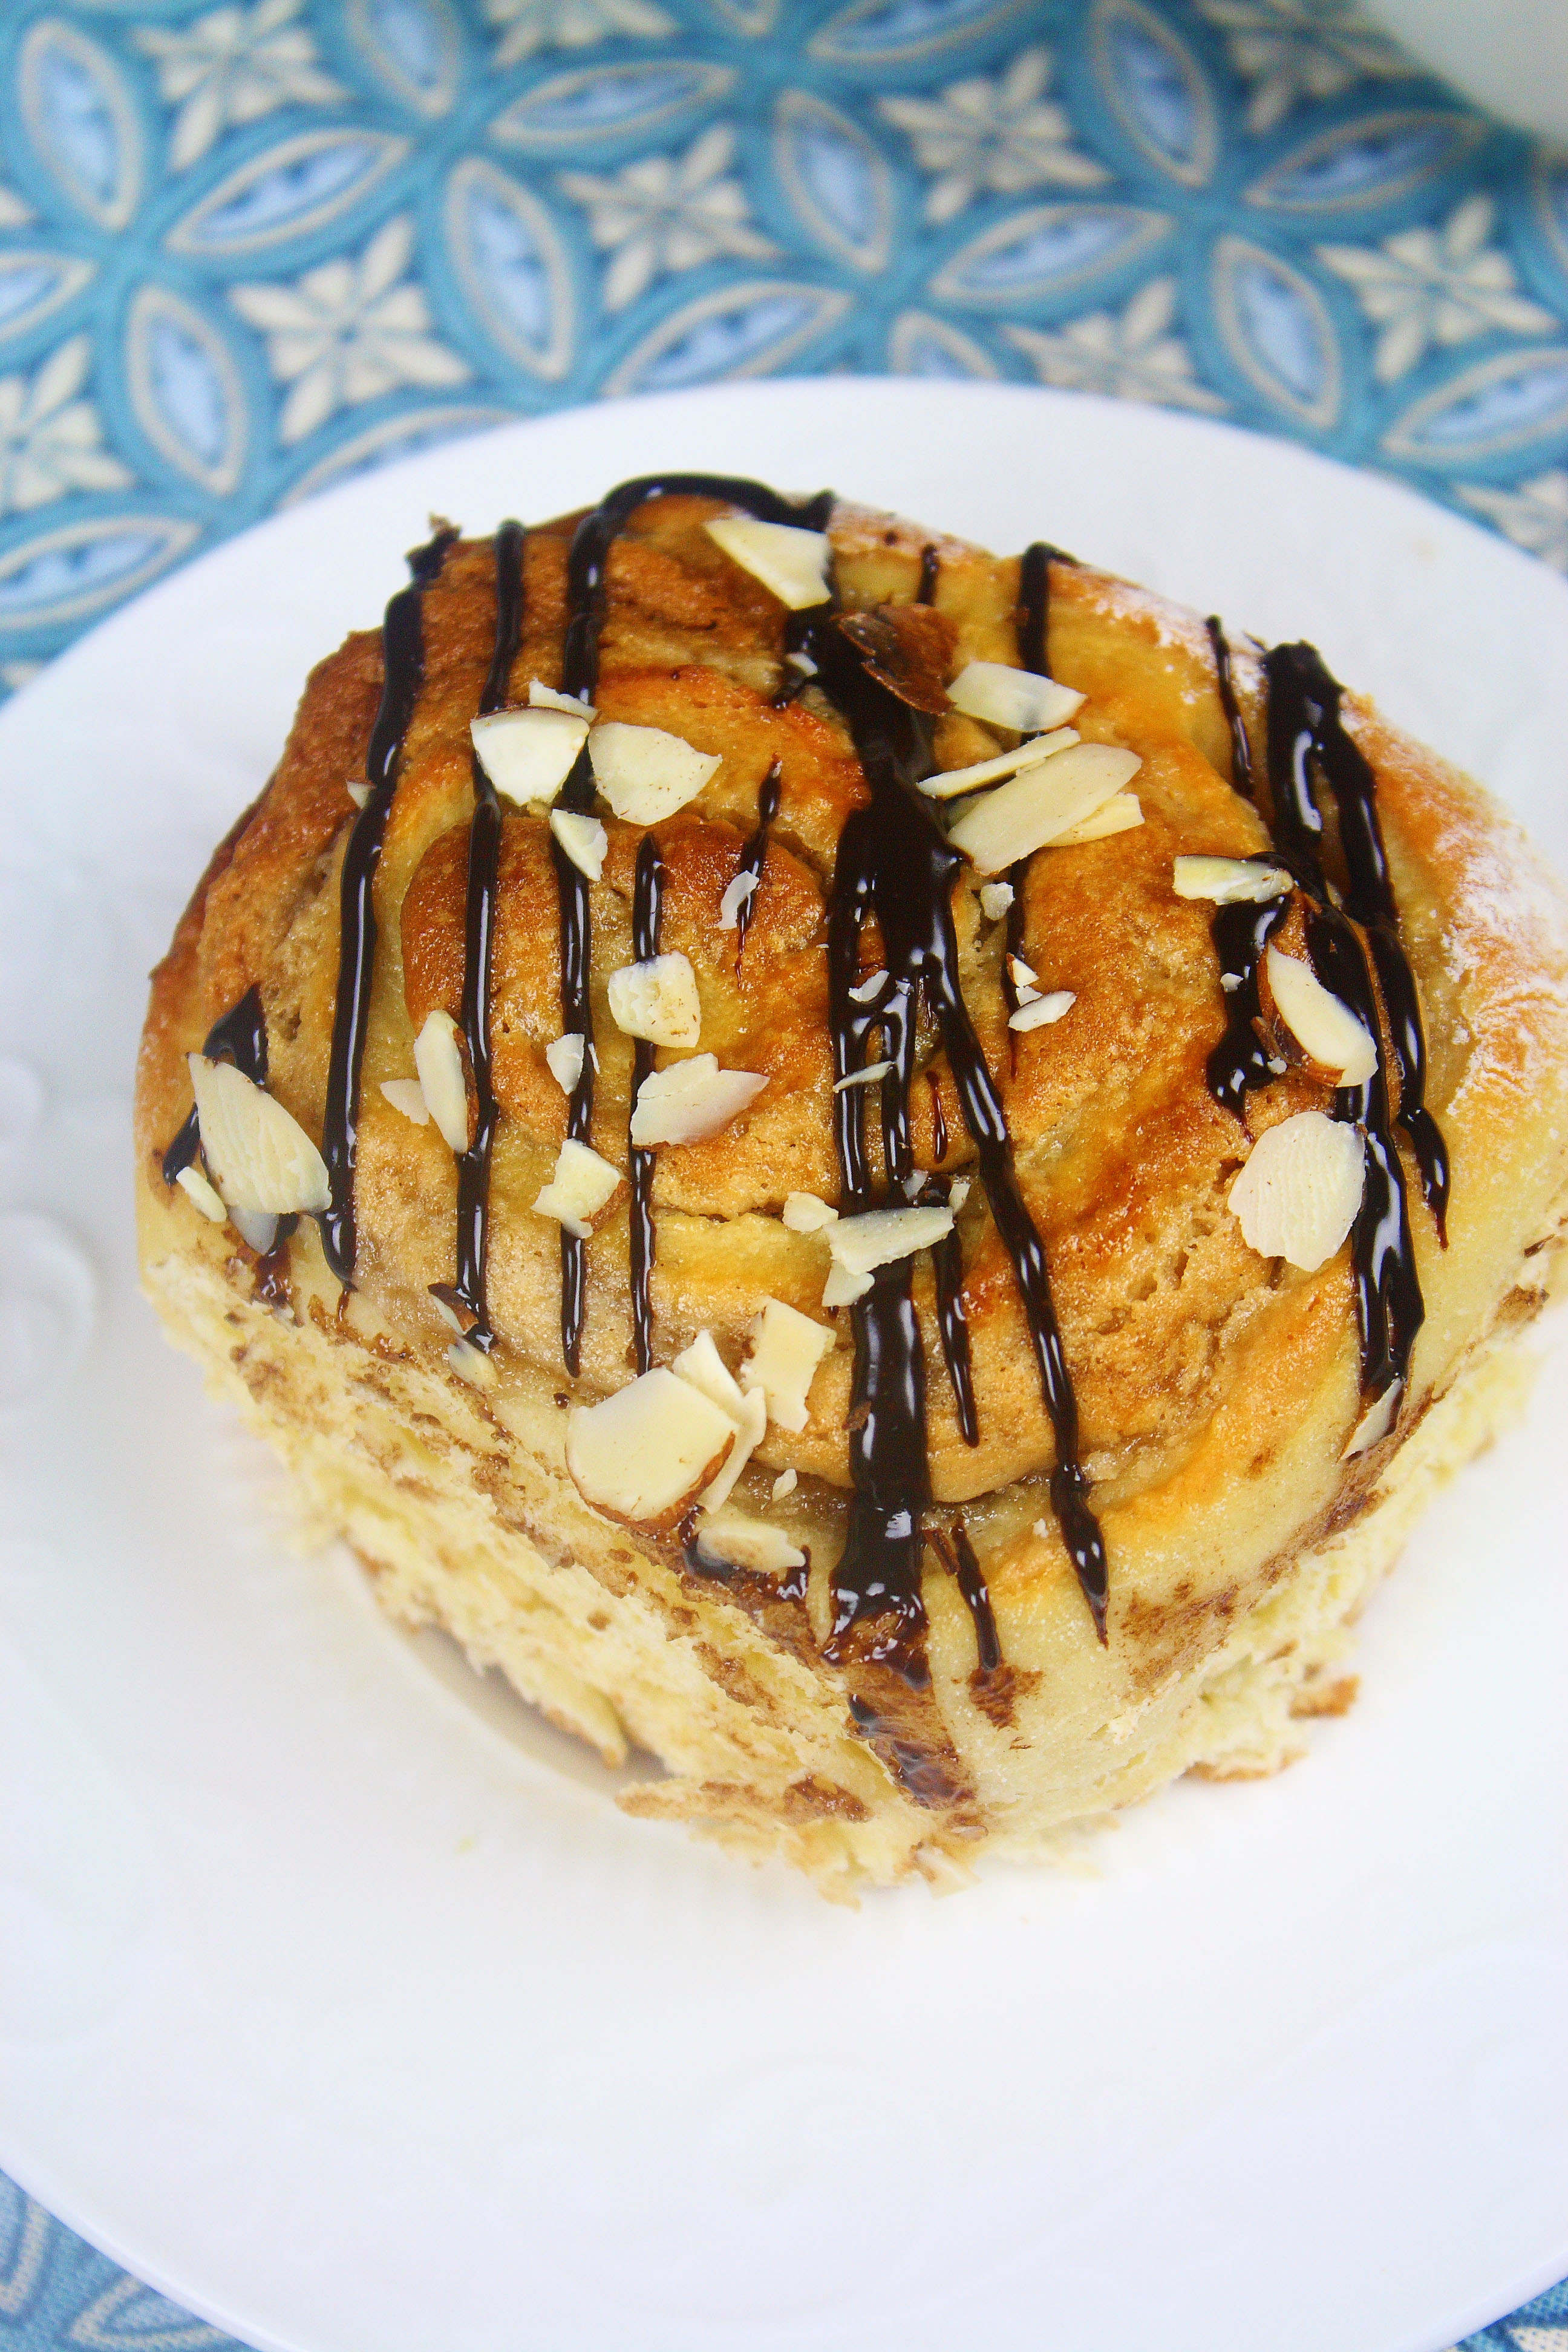
And, because I want to make everythinggggg into ice cream, I couldn’t decide what to make first. See, weird, awkward turtle over here. No big deal. I figured I couldn’t shouldn’t eat the entire carton ALL by myself, so I asked around and got a suggestion for Peanut Butter, which I felt would be too plain for my come-back recipe, so I decided to add Nutella. Great decision, right?
RIGHT.
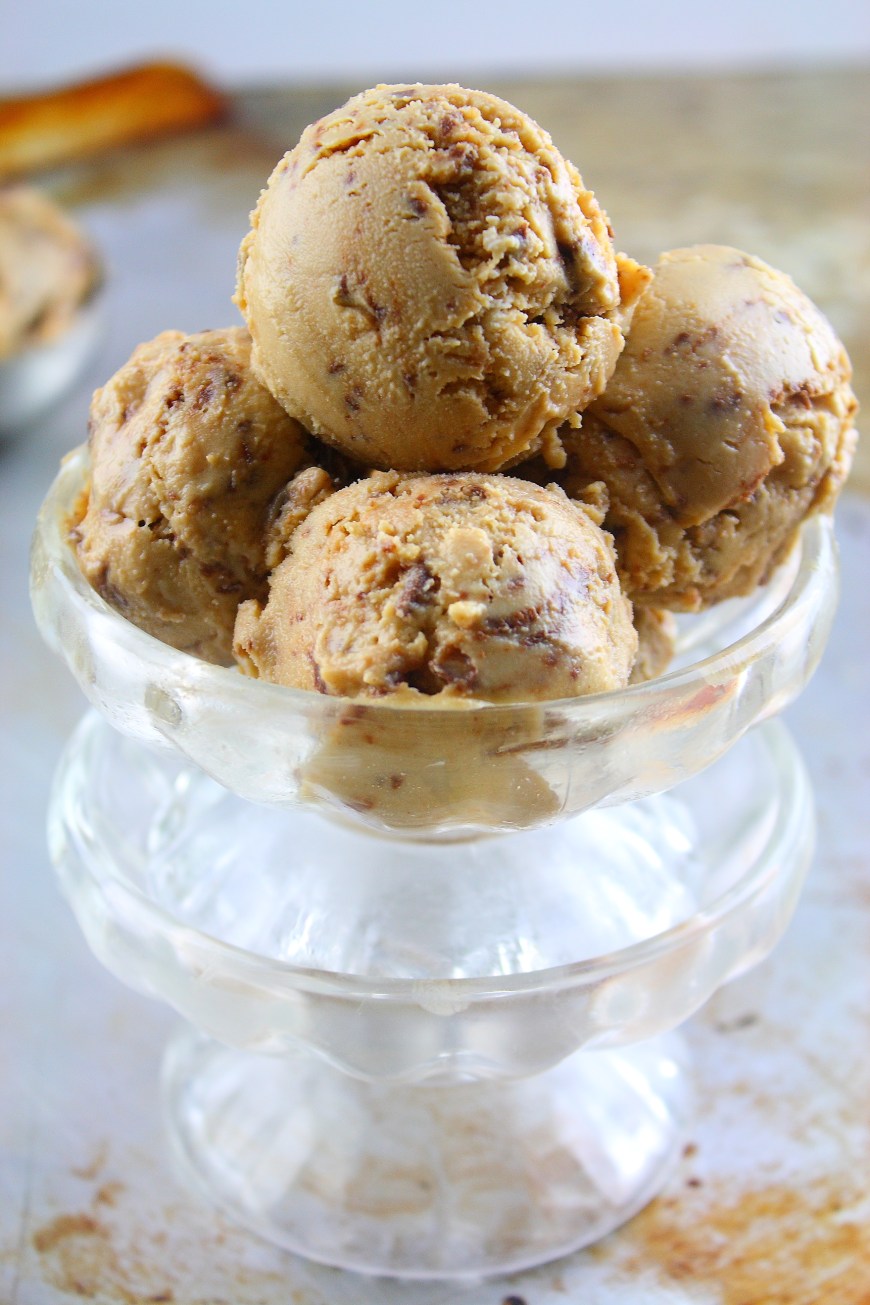
The base of the ice cream is a creamy peanut butter mixture that is extremely fluffy and mousse-like in texture. This isn’t one of those ice creams that will leave you wanting more peanut butter flavor. It tastes almost as if the entire jar of peanut butter magically turned itself into ice cream form. And, then of course, I had to swirl Nutella throughout the entire ice cream, because why not?
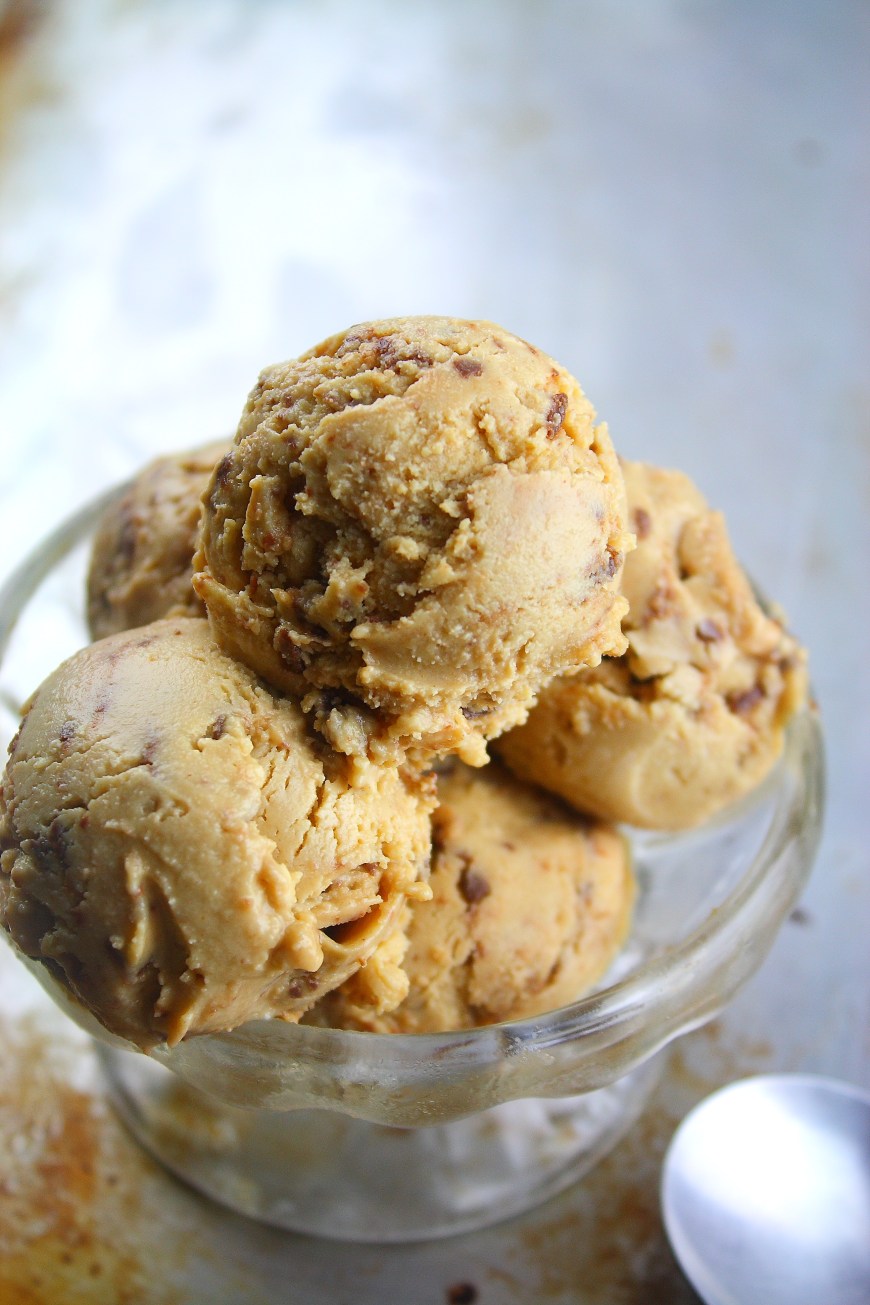
Peanut Butter Nutella Swirl Ice Cream
Serving size: about 1 quart
Ingredients:
1 ¼ cup creamy peanut butter
¾ dark brown sugar
1 ½ cups heavy whipping cream
1 ½ cups whole milk
2 teaspoons vanilla
¼ teaspoon salt
¼-1/3 cup Nutella
Directions:
Using a hand mixer, or stand mixer with paddle attachment, mix together the peanut butter and sugar until smooth.
Slowly add in the milk, heavy cream, vanilla, and salt. Mix on low until the sugar has dissolved—don’t worry if it seems a little grainy, the ice cream maker will smooth it out.
Pour mixture into the ice cream maker and churn according to the manufacturer’s instructions (it should take about 15 to 20 minutes).
Once the ice cream is frozen, and has thickened, transfer it to an airtight container.
Add dollops of the Nutella, and using a butter knife swirl (don’t mix!) the Nutella throughout the ice cream. If the Nutella seems a little too thick for swirling, heat it up for a few seconds before adding it to the ice cream.
Ice cream can be served immediately as a soft serve or can be frozen for about 2-4 hours for a thicker, ice cream consistency.
NOTES:
Peanut Butter Ice Cream Recipe from She Wears Many Hats