
 Happy {Early} Halloween!
Have I mentioned that Halloween is actually my third favorite holiday? (If you’re wondering, first and second is a toss-up between Thanksgiving and Christmas.) I like the fact that Halloween kicks off the fall, that I get to dress up in a costume (I was a cavewoman this year…check my Instagram for pictures!), and that I get the chance to go trick-or-treating. Come on…walking around, knocking on doors, and getting bags full of candy…who wouldn’t like that? And more importantly, how can we make that happen every day of the year? I also like that people decorate their houses like crazy, that desserts become themed for a month, and that spiders, are for once, considered adorable.
I do not, in any way, like spiders. If I see one, I run. And, scream. And, then ask the closest person to kindly dispense of the creature. I just don’t want anything to do with them. Ever. And then I saw this idea for spider cookies on Pinterest. My first thought was “Ewww. Gross. Throw those cookies away and run in the opposite direction”. My second thought was ‘Wait a minute, how stinking cute would it be if I made these for Halloween?” Pretty cute, huh? That’s why I decided I had to make them.
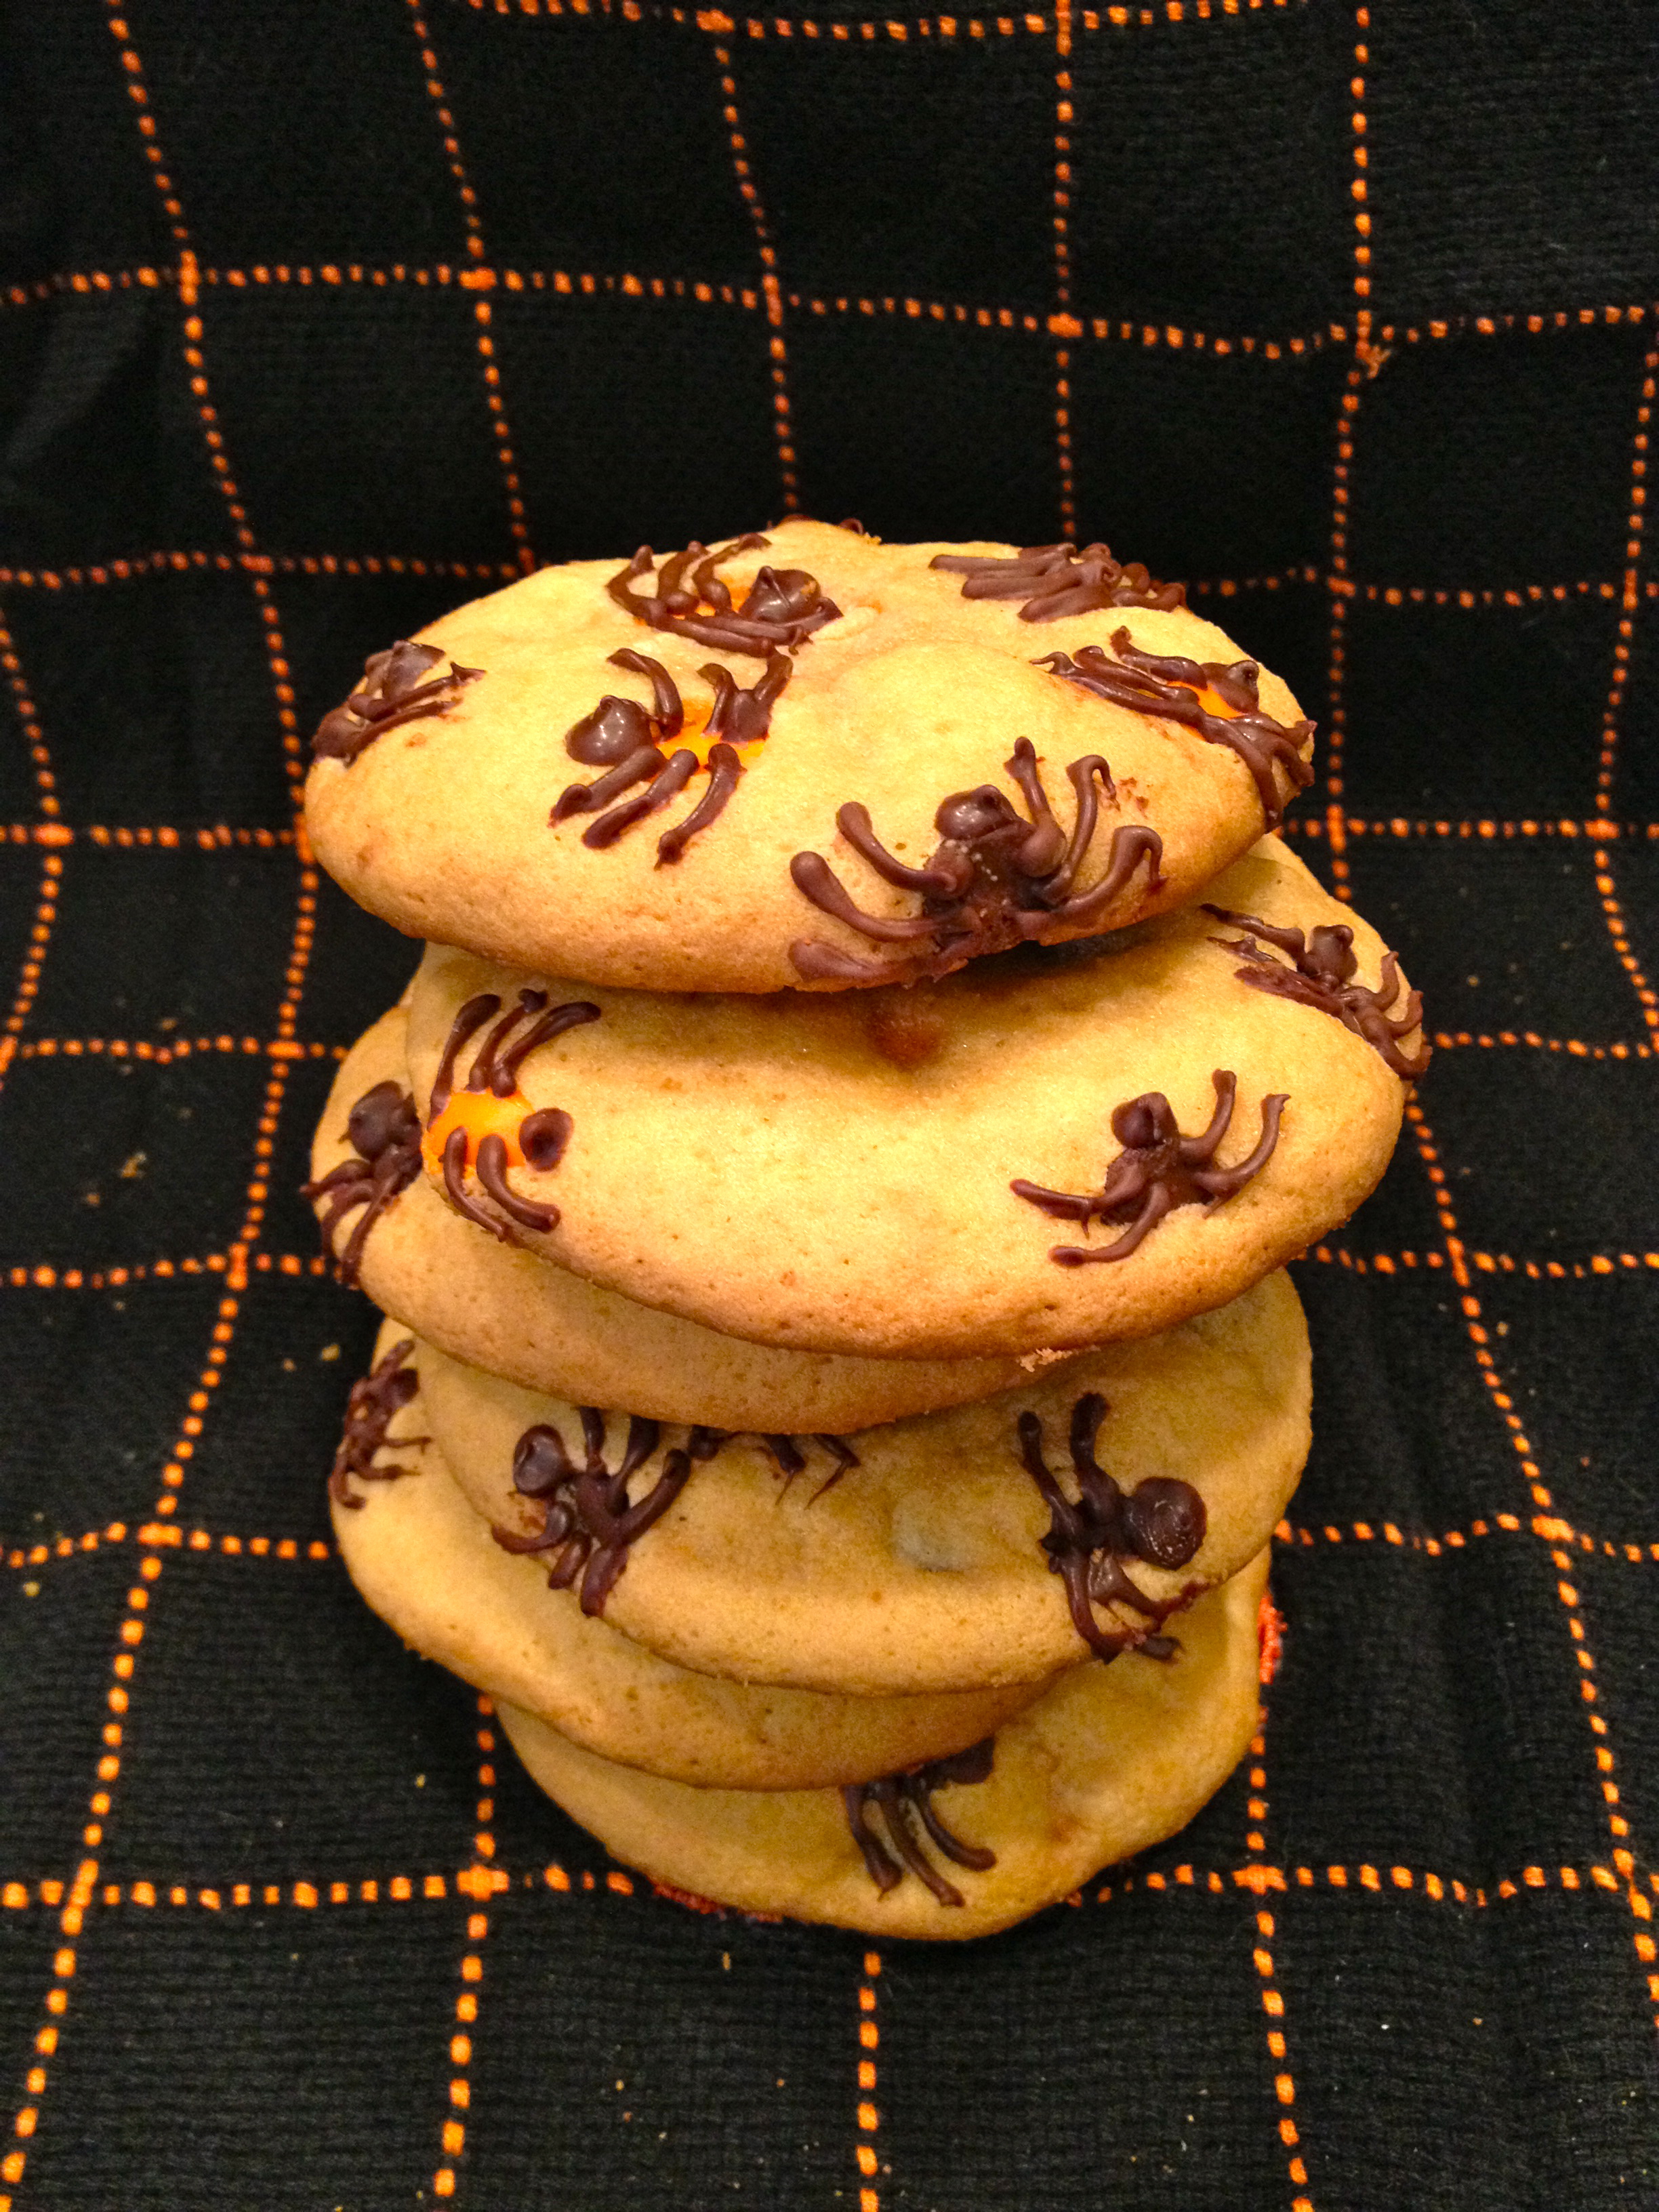
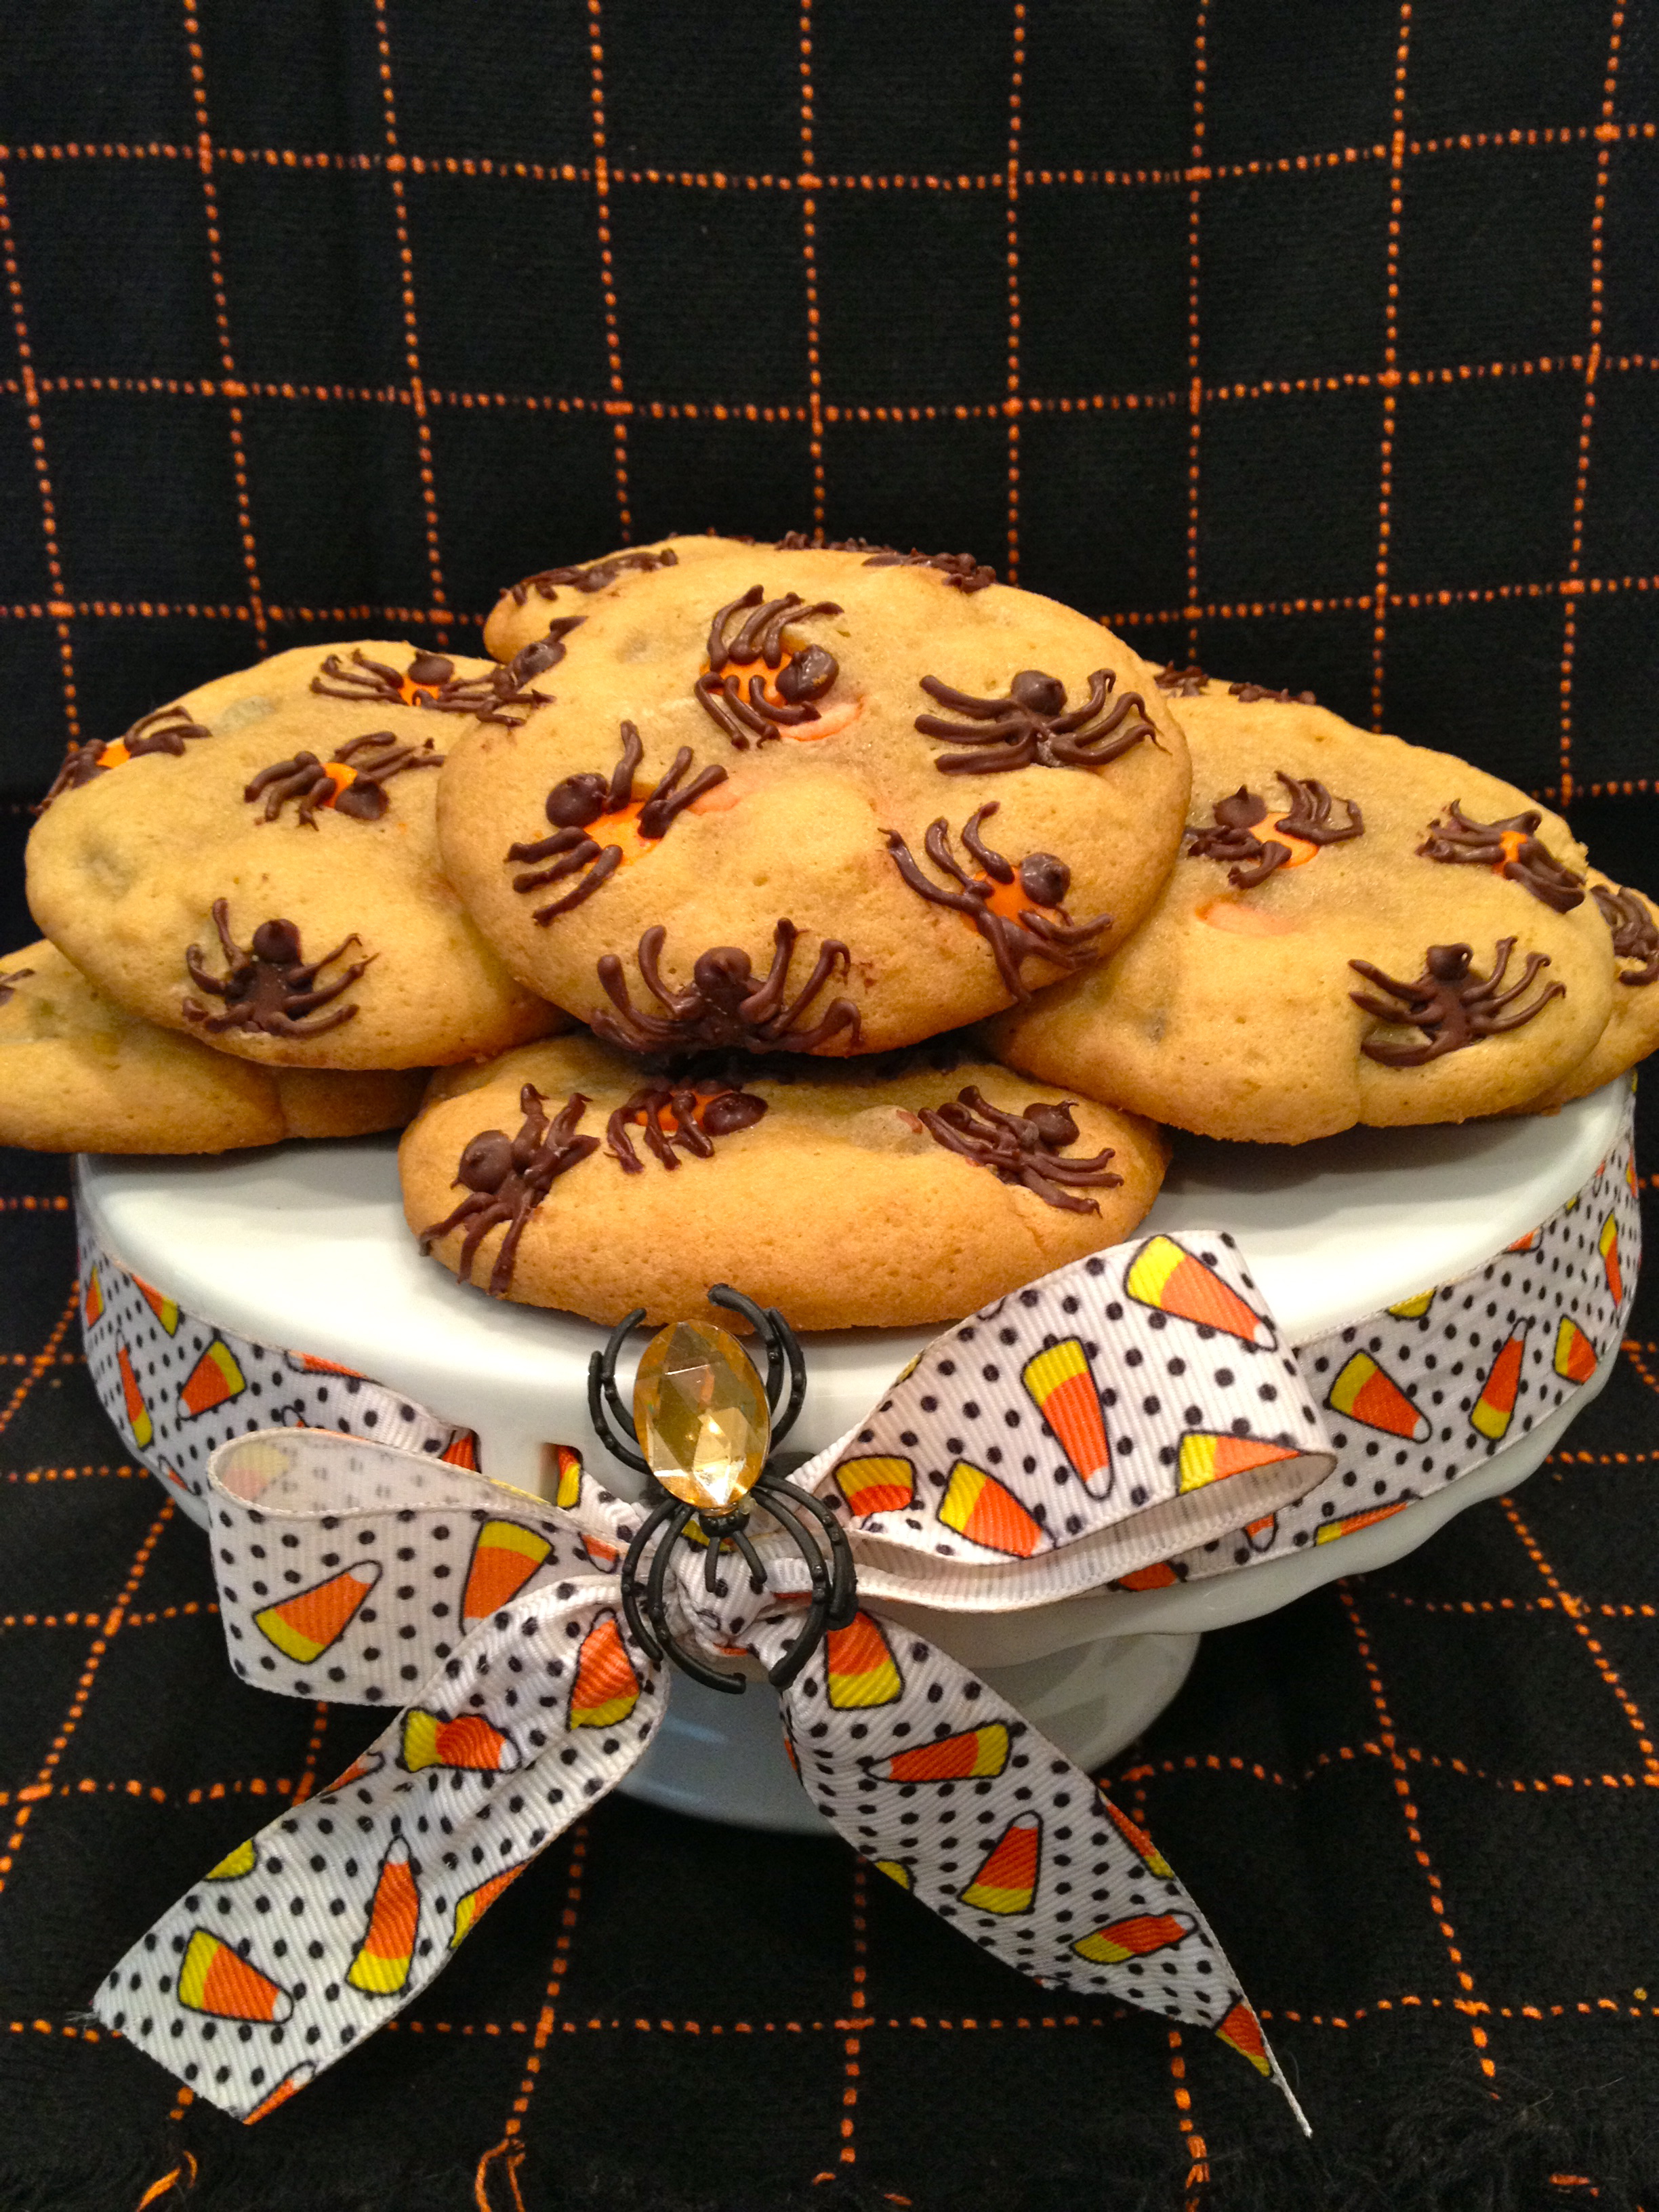
Just look at them. The perfect scary Halloween cookie. It was totally worth putting aside my dislike for spiders.
For these Spider Chocolate Chip Cookies all you need is your favorite chocolate chip cookie recipe, Halloween semi-sweet chocolate and orange colored morsels (I’m sure using just regular chocolate chips would look cute too!), and extra chocolate chips to draw your creepy crawly spiders! These cookies do take a little time to make, but I promise the end result is totalllly worth the effort :)
Spider Chocolate Chip Cookies
This isn’t really an exact recipe, just some general guidelines for how to make the cookies.
Ingredients:
24 large chocolate chip cookies (made using Halloween semi-sweet chocolate and orange colored morsels—I used Ghirardelli’s Chocolate Chip Cookie recipe)
¼ cup + a handful semi-sweet chocolate chips
Piping bag (with a small tip) or a Ziploc bag
Directions:
Guidelines for Baking Cookies
When making the dough for the cookies, keep a heaping ¼ cup of the orange and black chocolate chips out of the mixture.
I didn’t chill my dough (I was too excited!), which made it harder to handle when scooping out my cookies, so you might want to chill your dough for at least 30 minutes before baking.
Scoop a tablespoon and half of the dough onto an ungreased cookie sheet (I baked six cookies at a time).
Using the ¼ cup of colored morsels you took out, arrange a few morsels on top of the unbaked cookies. About halfway through the cookies being baked, look to make sure you have enough ‘spider bodies’ showing, if not add a few more colored morsels.
Let the cookies cool completely (about three hours) before you start decorating.
Guidelines for Decorating
To create the spiders, melt a ¼ cup + a handful of semi-sweet chocolate chips in a microwave safe bowl (microwave in 15 minute intervals, stirring after each interval, until smooth).
Spoon melted chocolate chips into a piping bag (or Ziploc bag).
First pipe the spider’s face, this means piping a circle at the top of one of the chips. Then, carefully pipe the spider’s legs.
If the chocolate becomes too thick (and the piping becomes harder), heat up the chocolate again until smooth.


Such a cute idea! Thanks for sharing!
Thanks! Hope you have a Happy Halloween :)